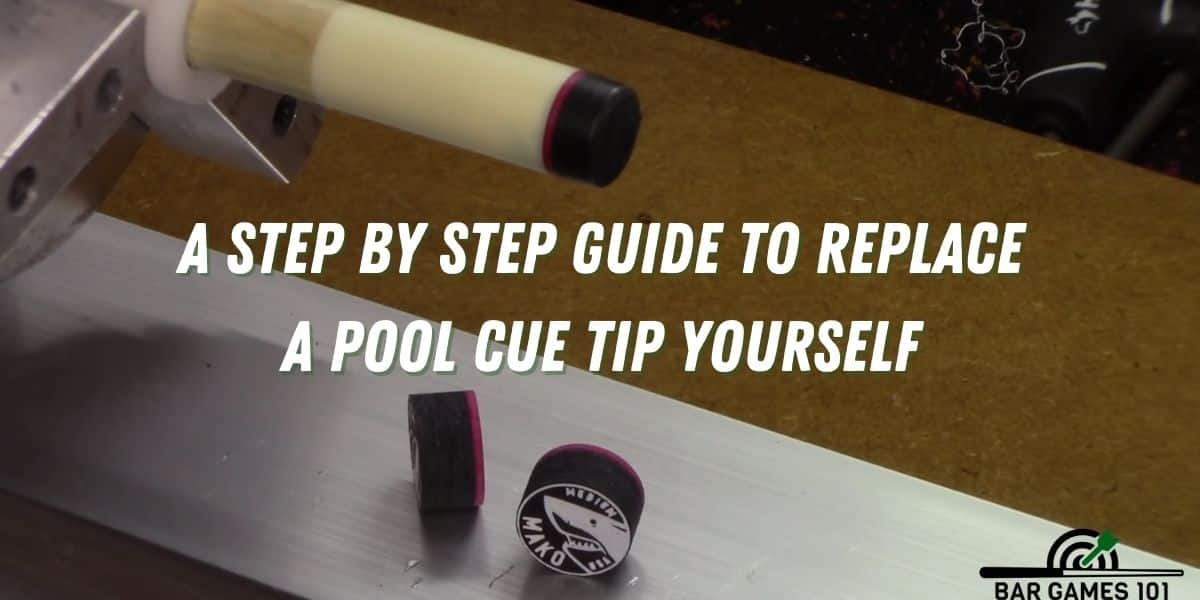
The pool cue tips often get worn out and need replacing. While you can always get a professional to do this for you, you can save your money and easily do this by yourself via some simple steps. Moreover, it might be hard to find a local cue repair guy in your area, especially if you realize that your cue tip needs to be changed with an important tournament coming up in a few days. Whatever your reason might be, without further ado, here is a step by step guide to help you replace a pool cue tip by yourself.
Materials required:
- New cue tips from the best pool cues brands
- Some fine-grit sandpaper
- A razor blade or a sharp knife
- Nail polish remover or preferably acetone
- Super Glue gel
- A rasp or a course file
- Paper towels or disposable cloth
Once you are done with the gathering of all the required materials, read through the guide given below to know all the steps:
Step 1: Begin by removing the old tip. You can do so with the help of a sharp knife or razor blade if the tip is still strongly glued on. If the tip is ancient, it might fall off with just a little tug. You need to make sure that you remove all the leftover glue or leather material that might still be stuck on the ferrule. Be very careful while you do this step as you do not want to get the sides of the ferrule (or your fingers), which can create unwanted air pockets. These air pockets are formed directly under the tip and cause it to fall off easily.
Step 2: Next, lightly sand the ferrule with the help of fine-grit sandpaper to make it as smooth as possible. Take a cloth or some paper towels and dip it in acetone and clean all the dust particles from the ferrule. Be careful as you don’t want to get the acetone on your new cue tip or the pool cue wood.
Step 3: Select a pool cue tip of your choice with the size as close as possible to your ferrule. It is better to go for a bit larger than taking the risk if choosing a way too small. If it is large, you can just cut off the excess after fixing it to the ferrule and letting it dry.
Step 4: After selecting a tip, rub the back of the tip on some of that fine-grit sandpaper until it is nice and rough. The tip had to be properly roughed up, or the adhesive will not have any surface to adhere to.
Step 5: Get your superglue gel and put a small bit of it on the bottom of the tip as well as on the top of the ferrule. While you can also use a cement mixture, superglue gel is probably a better choice as it sets quickly.
Step 6: Place the tip gently on the ferrule and press it down. Be wary of glue oozing out, and no matter what you do, do not clean it with your fingers. Use paper damped with acetone instead to get rid of any oozing glue on the pool cue shaft.
Step 7: Next, fix the tip clamp and secure it tightly. Moreover, on the other hand, you can use a rubber band to hold the tip in place as well. Ensure the clamp or the rubber band stays on for at least an hour before you remove it.
Step 8: Before you remove the clamp, check if the tip is attached firmly to the ferrule. After removing the clamp, gently rock the pool tip between your fingers. If you feel any movement, you have to start over right from step one and put more glue the next time.
Step 9: With the help of sandpaper, remove any excess glue that might be stuck on the joint area.
Step 10: You need to shape the tip with the help of a rasp. File the edges of the tip until it is shaped, or use a blade if there is an excess amount of tip overhanging the ferrule’s edges. Lastly, apply plenty of chalk, and your pool cue is ready.
Some final thoughts
By now you might have understood that replacing a pool cue tip is not less than an art. You can easily do it all by yourself but don’t hesitate to a professional help either. Whatever the case is, it is an important skill that you must have if you are a regular player. In case of DIY, then practice the technique a few times until you are confident.
You May Also Like:

